DIY Tutorial: How to Attach a Game Boy Camera to a Telescope
Chris Graue releases free 3D-printable schematics and a tutorial for connecting a Game Boy Camera to a telescope, enabling retro-tech astrophotography.
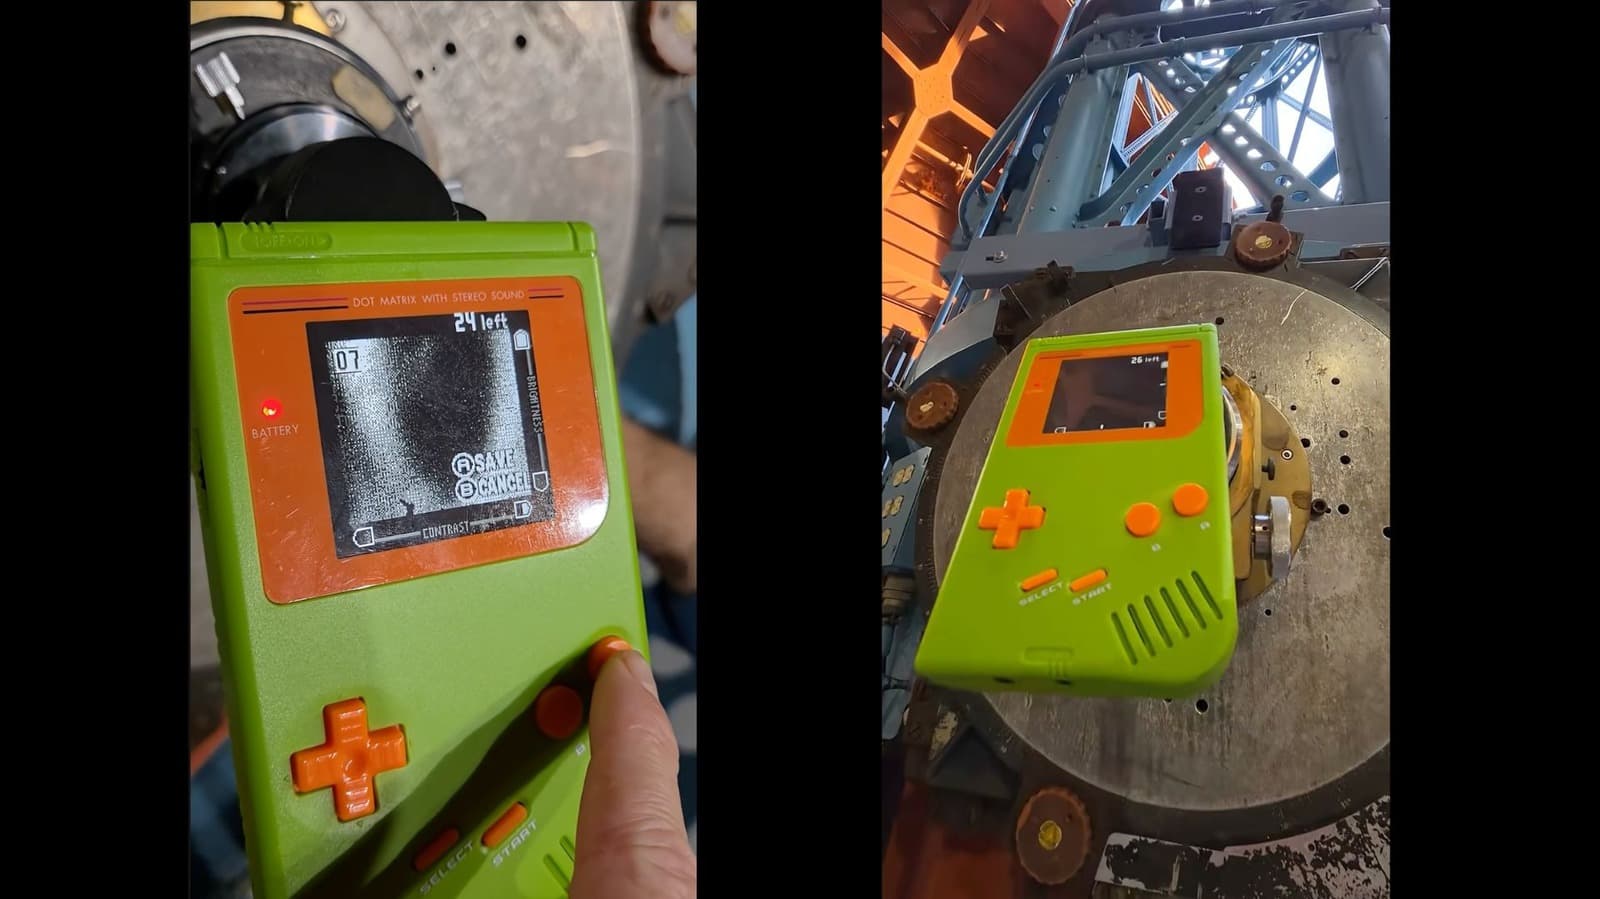
Last month, Chris Graue made headlines by photographing Jupiter with a Game Boy Camera attached to the Hooker Telescope at Mount Wilson Observatory. Now he's released the 3D-printable adapter schematics and a short tutorial, making it possible for anyone with a printer and a telescope to try the same trick.
The Adapter
The adapter is a simple tube that pressure-fits inside a standard 1.25-inch telescope eyepiece. Graue published the STL files for free on his Bluesky account, along with a YouTube video walking through the assembly. No special tools or exotic materials are required — just a 3D printer and a Game Boy Camera.
What You'll Need
- A Game Boy Camera (original hardware or a compatible clone)
- A telescope with a 1.25-inch eyepiece
- A 3D printer to fabricate the adapter
- Patience — the Game Boy Camera's 128x128 pixel sensor is not exactly Hubble-grade
Why This Matters
This is a fun, low-cost entry point for combining retro computing with amateur astronomy. The adapter design is open-source, so anyone can iterate on it. It also demonstrates that creative hacking with obsolete hardware can still yield surprising results — even if those results are blocky, grainy images of gas giants.
If space photography isn't your thing, the same adapter could be used for terrestrial telephoto shots. The Game Boy Camera has already been repurposed as a mirrorless camera, a webcam, and a telephoto lens. This telescope mount is just the latest in a long line of inventive mods.
Get the files and tutorial from Graue's Bluesky post linked above, and start printing.
Source: Engadget
Discussion
0 Comments
Be the first to start the discussion.